 |
 |
|||
| 1 | 2 | |||
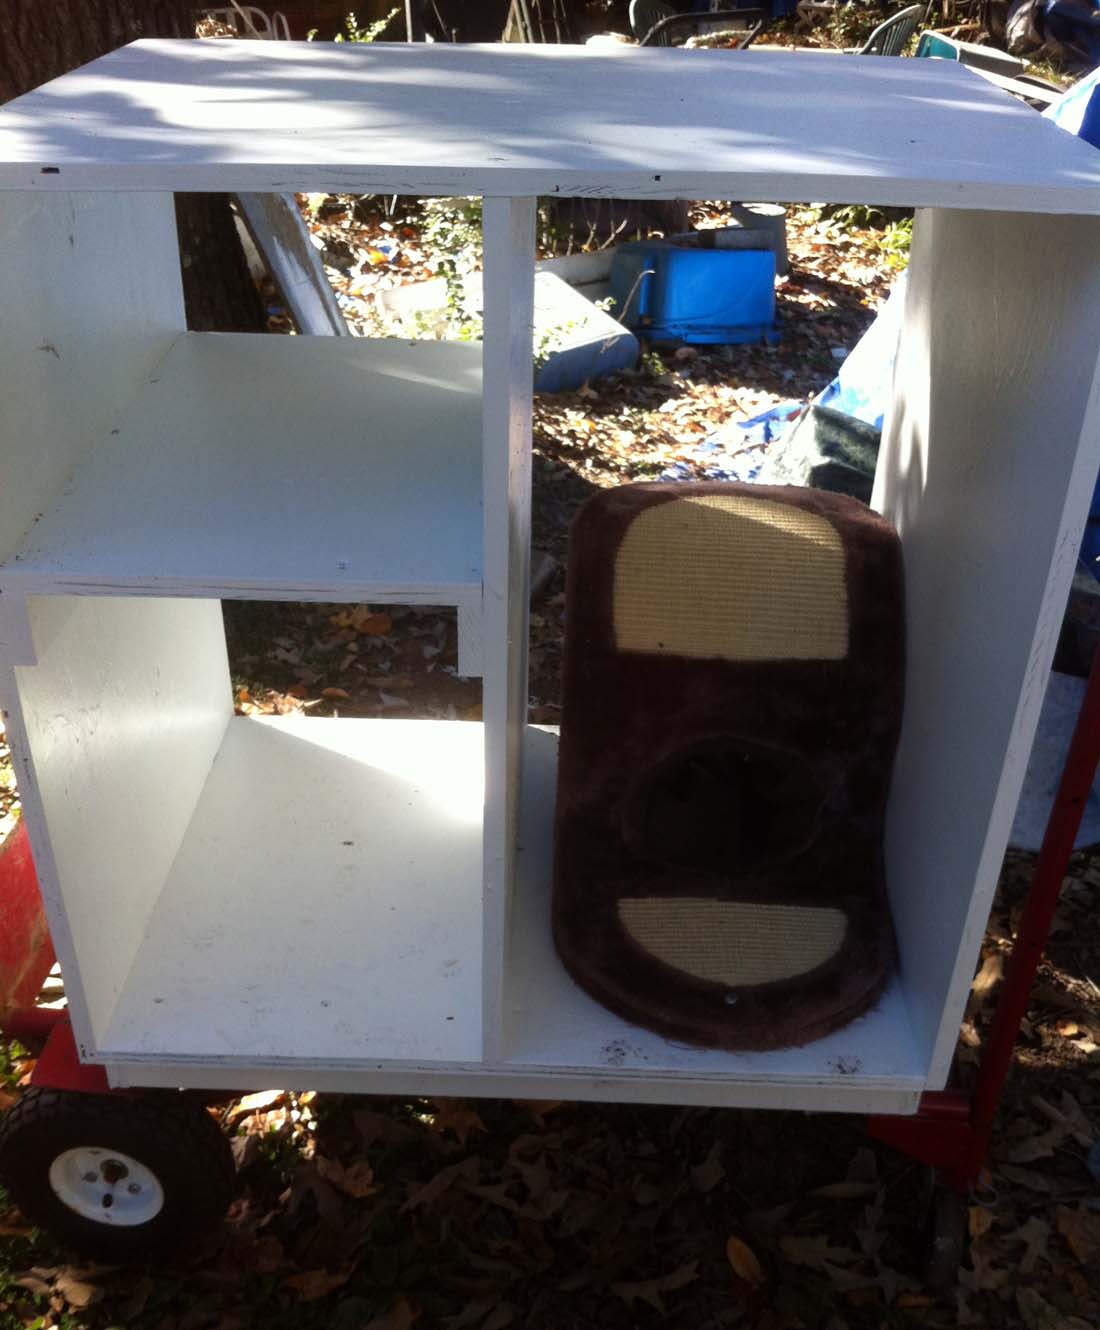
| This cabinet was part of a work bench of which I redesigned. It's approximately 4' by 4' by 4'. Painted with latex primer and topcoat to keep cat tracking and litter box dirt from entering the wood. Also, 4 large 8" pneumatic casters were installed to make the cabinet easier to handle outside. | The front and back of the cabinet was covered with Plastic Garden Fence (Picture 6-Page 3) with 1" by 2" furring strips used to hold the fence in place. The primary purpose of this enclosure is to provide a safe place for the cats to eat. The secondary purpose is to trap feral cats that will not enter a wire trap. It provides a secure enclosure to keep the cats inside when used as a trap as well as protect them from dogs. The door on 2 hinges includes a vertical sliding trap door on 2 metal guides. | |||
 |
|
|||
| 3 | 4 | |||
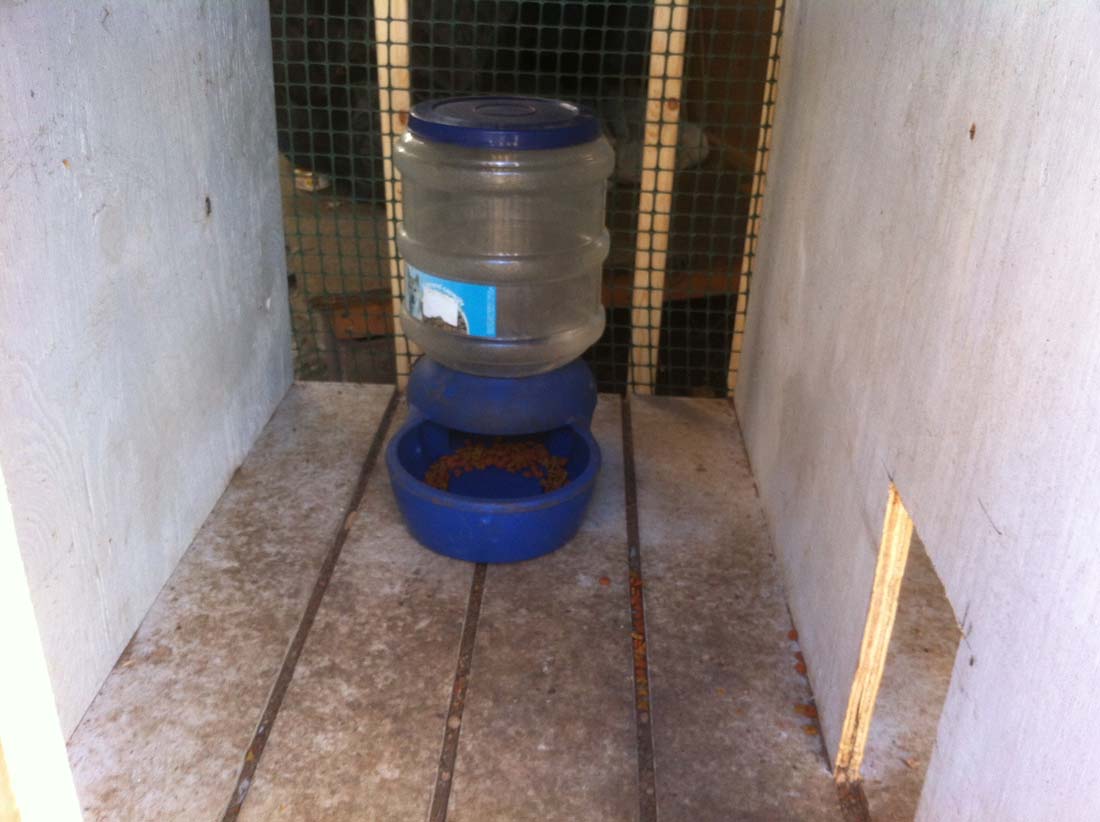
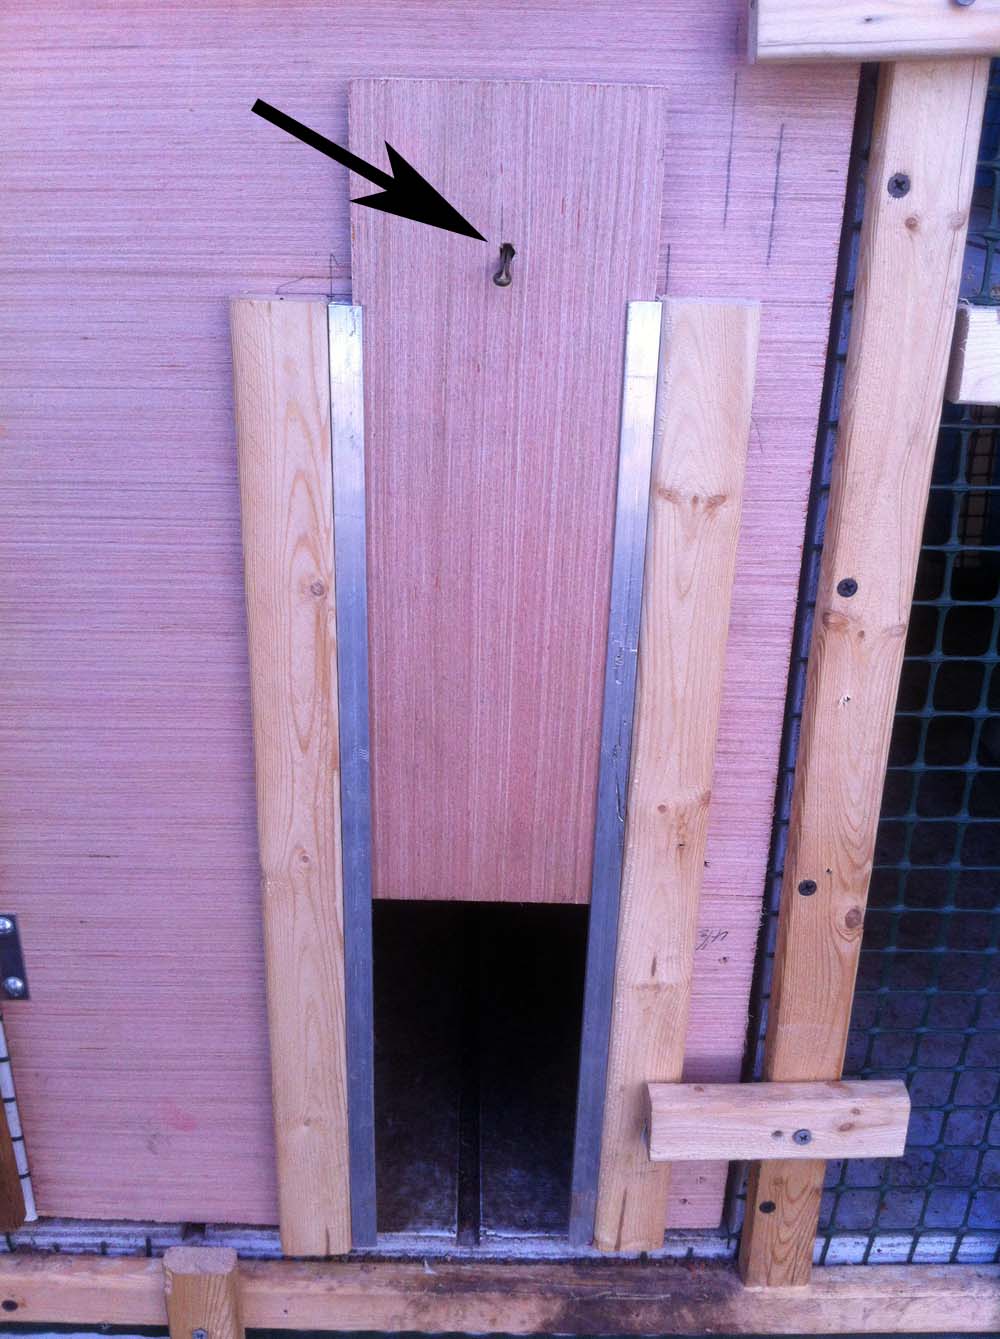
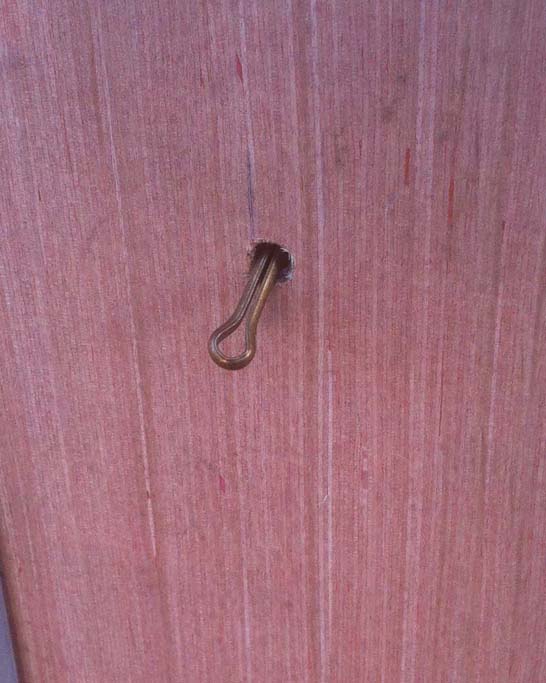
| Behind the door is a feeder. At the bottom right, also notice the small 'cat door opening' to the next room and another feeder location. The second room (Picture 5 on Page 3) is also the location of the rear trap door leading to the wire trap. | Front 'cat door' and trap. Cut from Luan plywood, the trap door is made within a larger door which gives access to filling the feeder. The small trap door is approximately 4" by 11" and slides on metal "U" shaped slides which are available from your hardware store. Notice the arrow. This is a cotter pin of which a commercial grade thread is attached. When the thread is pulled, the pin pulls out and the door falls and shuts. Make sure that when you construct this trap door, it falls just below the floor of the cabinet to give a tight seal. Hint: Make sure the edges of the trap door have been sanded and use wax or bar soap on the edges for a smooth action. Also, it's best to be out of sight when you pull the thread for the best chance of catching your cat. | |||
|
|
||||

